
Your power station not charging issue has persisted through basic troubleshooting. Now you face the critical decision: attempt DIY repair or seek professional service? This comprehensive guide walks you through both paths, helping you make the right choice based on your technical skills, warranty status, and the specific failure symptoms.
Unlike simple fixes like cable replacement or outlet testing, power station not charging problems requiring repair often involve internal battery management systems, charging circuits, or battery cell failures. Understanding what you can safely attempt versus what requires professional equipment protects both your safety and your investment.
Before your power station not charging situation escalates to expensive repairs or complete replacement, this guide provides clear diagnostic procedures, cost-benefit analysis, and step-by-step instructions for common DIY repairs. We also cover when professional service is the smarter choice—and how to avoid getting overcharged.
Power Station Not Charging: DIY Repair vs Professional Service Decision Matrix
Start your decision process with honest assessment:
| Factor | DIY Repair | Professional Service |
|---|---|---|
| Warranty Status | Will void warranty | Preserves warranty (authorized service) |
| Technical Skill | Requires electronics knowledge | No technical skill needed |
| Cost Range | $20-200 (parts only) | $150-600 (parts + labor) |
| Time Investment | 4-12 hours | 2-4 weeks (shipping + repair) |
| Safety Risk | High (lithium battery hazards) | Professionals assume risk |
| Success Rate | 60-70% for skilled individuals | 85-95% with authorized service |
| Tool Requirements | Multimeter, soldering, screwdrivers | None |
Quick Decision Rule: If under warranty, always use professional service. If out of warranty and you’re comfortable with basic electronics, DIY can save significant money for specific repairs.
Power Station Not Charging: Determining What’s Actually Broken
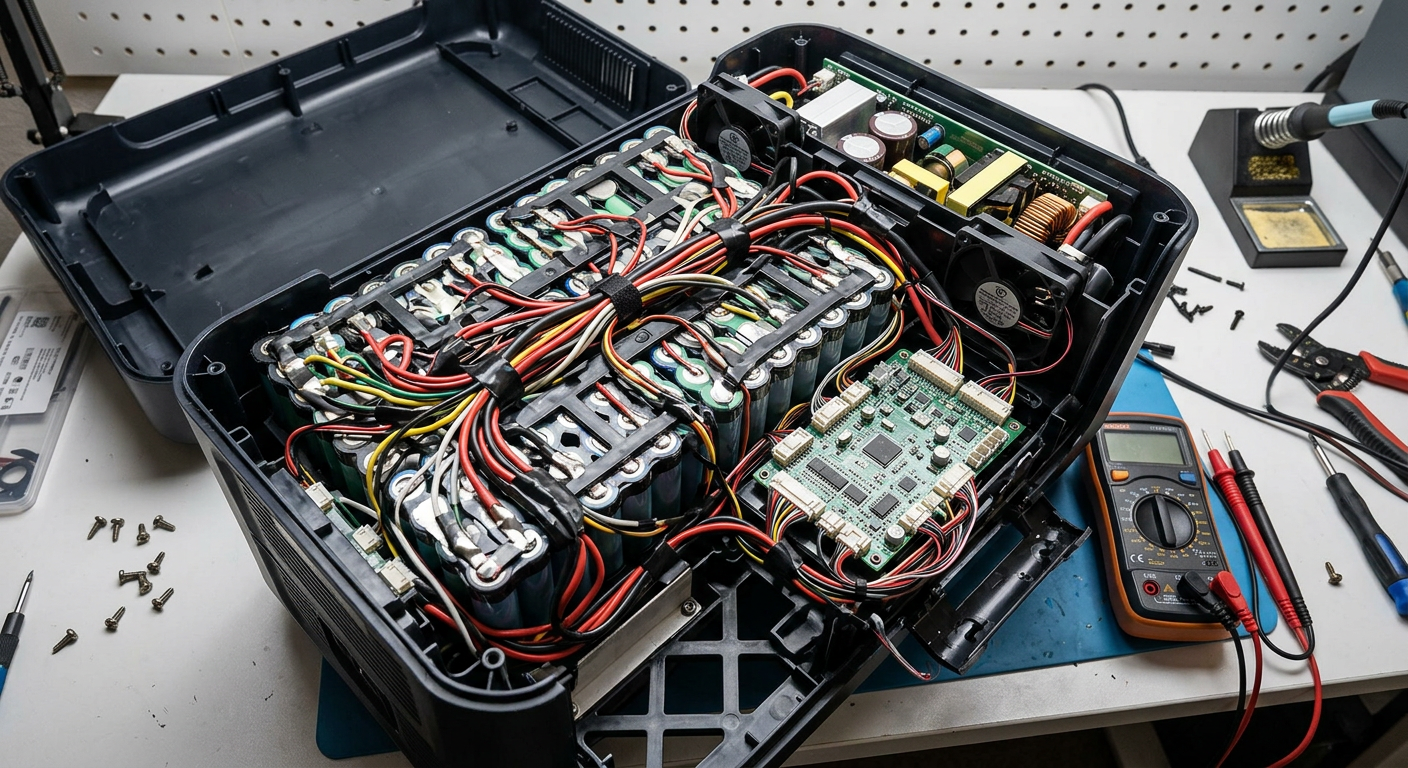
Before choosing repair path, accurate diagnosis is essential. Different failures have vastly different repair approaches:
Charging Port Failures (Most DIY-Friendly):
Symptoms:
- Charging cable feels loose or wobbly
- Must hold cable at specific angle to charge
- Intermittent connection with known-good cables
- Visible damage to charging port (bent pins, cracked housing)
Diagnosis: Visual inspection + wiggle test. If cable only works when held at angle, port solder joints have failed.
DIY Difficulty: Moderate (requires soldering skills)
Professional Cost: $80-150
DIY Cost: $5-15 (port + solder)
Battery Management System (BMS) Failures (Professional Recommended):
Symptoms:
- Power station turns on but won’t accept any charge input
- Over-temperature or over-voltage errors with normal conditions
- Battery shows 0% or 100% stuck regardless of actual charge
- Power cuts off abruptly under moderate loads
Diagnosis: Requires specialized BMS programming tools. Most DIYers cannot diagnose BMS firmware issues.
DIY Difficulty: High (requires programming equipment)
Professional Cost: $200-400
DIY Cost: Not recommended
Battery Cell Failures (Cell Replacement vs Full Unit):
Symptoms:
- Rapid capacity loss (was 1000Wh, now 400Wh)
- Swelling or deformation of power station case
- Overheating during charging or discharging
- Voltage sag under load faster than specifications
Diagnosis: Requires load testing and cell voltage checking with multimeter. Individual cell groups showing voltage deviation >0.5V indicate failure.
DIY Difficulty: High (lithium cell handling risks)
Professional Cost: $300-600
DIY Cost: $150-300 (replacement cells)
Charging Circuit Board Failures (Professional Only):
Symptoms:
- No response to any charging input (wall, solar, car)
- Burning smell or visible scorch marks on circuit board
- Blown fuses that immediately blow again after replacement
- MOSFET or capacitor visible damage
Diagnosis: Circuit board inspection requires disassembly. Look for burnt components, swollen capacitors, or scorch marks.
DIY Difficulty: Very High (requires schematic knowledge)
Professional Cost: $250-500
DIY Cost: Not recommended without electronics expertise
DIY Repair: What You Can Safely Attempt
For the determined DIYer with appropriate skills, these repairs offer reasonable success rates:
DIY Repair #1: Charging Port Replacement
Required Tools:
- Precision screwdriver set (Phillips, Torx, flat)
- Soldering iron (temperature controlled, 60W+)
- Solder sucker or wick
- Replacement port (specific to your model)
- Digital multimeter
- Plastic opening tools
Time Required: 2-4 hours for first attempt, 1-2 hours after experience
Step-by-Step Procedure:
Step 1: Safety Preparation (Critical)
Lithium batteries pose fire and explosion risks. Before opening power station:
- Work in fire-safe area (concrete floor, no flammables nearby)
- Have fire extinguisher rated for Class B and C fires accessible
- Wear safety glasses (lithium can eject metal particles if shorted)
- Remove all jewelry (rings, watches can cause shorts)
- Ensure battery is at 30-50% charge (full charge increases fire risk)
Step 2: Disassembly
- Remove all screws from case (typically 6-12 screws)
- Use plastic pry tools to separate case halves
- Document screw locations (phone photos help)
- Carefully separate case—watch for ribbon cables
- Disconnect all internal connectors before fully opening
Step 3: Locate and Test Failed Port
- Find charging port on main circuit board
- Visually inspect solder joints for cracks or cold joints
- Test continuity: multimeter should show near-zero resistance from port pins to board traces
- Wiggle port while testing—intermittent continuity confirms failure
Step 4: Port Removal
- Remove old solder with sucker or wick
- Heat each pin individually while gently pulling port
- Do not force—excessive heat damages circuit board
- Clean pads with isopropyl alcohol
Step 5: New Port Installation
- Verify new port matches old (pinout, mounting style)
- Insert port, ensuring it sits flush with board
- Solder each pin with adequate heat (350-400°C for lead-free)
- Do not bridge adjacent pins
- Test continuity after cooling
Step 6: Reassembly and Testing
- Reconnect all internal connectors
- Close case carefully, verifying no pinched cables
- Install screws (do not overtighten—plastic strips easily)
- Test charging with known-good cable
- Monitor first charging cycle for abnormal heat
Success Indicators:
- Firm cable connection (no wiggle)
- Immediate charging initiation
- Normal charging speed (compare to specifications)
- No excessive heat at port
When to Stop and Seek Professional Help:
- Cannot remove old port without damaging board
- Solder joints won’t take new solder (damaged pads)
- Multimeter shows shorts after installation
- Case won’t reassemble properly
DIY Repair #2: Fuse Replacement
Simpler than port replacement, fuse replacement addresses blown input protection:
Common Fuse Locations:
- DC input path: 15-30A blade fuse
- AC charging circuit: 5-10A ceramic fuse
- Solar input: 10-20A automotive fuse
Procedure:
- Locate fuse (usually near charging port or on separate fuse board)
- Test fuse with multimeter (continuity mode)
- Remove blown fuse (pull or unscrew holder)
- Install identical rating fuse (never upgrade amperage)
- Test charging
Warning: Fuses blow for reasons. If new fuse immediately blows, underlying short exists. Do not repeatedly replace fuses—this creates fire hazard.
DIY Repair #3: Cooling System Restoration
Overheating causes charging shutdowns. Simple cleaning often restores function:
Procedure:
- Disassemble case to access internal components
- Locate cooling fan (if equipped)
- Remove dust with compressed air
- Verify fan spins freely (bearing failure requires replacement)
- Clean heat sink fins with brush
- Check thermal pad placement on MOSFETs
- Reassemble and test
When Professional Service Is Required
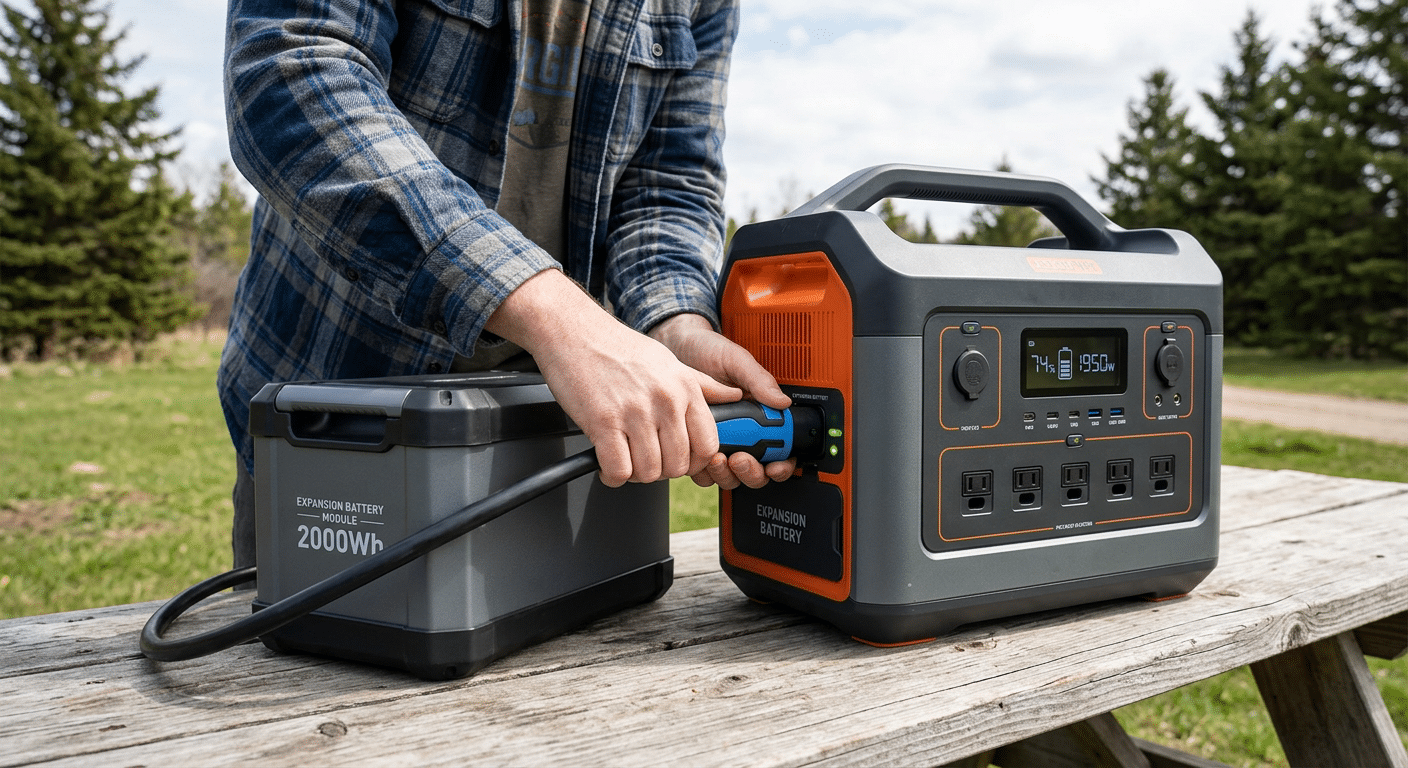
Some repairs demand equipment, expertise, or safety protocols beyond DIY:
Battery Cell Replacement:
While technically possible for skilled DIYers, lithium cell replacement carries significant risks:
- Cell balancing requires specialized equipment ($500+ BMS programmers)
- Mismatched cells create fire hazards
- Spot welding equipment needed for cell connections
- Thermal runaway risk during assembly
Recommendation: Professional service for any battery replacement.
BMS Firmware Issues:
Battery management systems require:
- Manufacturer-specific programming tools
- Access to proprietary firmware
- Diagnostic software not available to consumers
Recommendation: Only manufacturer or authorized service centers can address BMS problems.
Main Board Failures:
Charging circuit board repair requires:
- Schematic diagrams (manufacturer confidential)
- SMD rework stations for component replacement
- Component-level troubleshooting expertise
Recommendation: Board-level repair only practical for professionals.
When DIY isn’t appropriate, you have two professional paths:
Manufacturer Authorized Service:
Advantages:
- Preserves warranty coverage
- Genuine parts guaranteed
- Technician training on specific products
- Diagnostic equipment for your model
- Recourse if repair fails
Disadvantages:
- Higher cost (typically 40-60% premium)
- Longer turnaround (shipping + queue time)
- May refuse out-of-warranty units
Independent Repair Services:
Advantages:
- Lower cost (often 30-50% less)
- Faster turnaround (local service)
- May attempt repairs manufacturers refuse
- Negotiable pricing
Disadvantages:
- Warranty voided (if still covered)
- Parts quality varies
- Skill level inconsistent
- Limited recourse for failed repairs
How to Choose:
Use authorized service if:
- Unit under warranty
- High-value unit ($1000+)
- BMS or battery cell issues
- You want guaranteed outcome
Use independent service if:
- Out of warranty
- Straightforward hardware repair (ports, fuses)
- Cost is primary concern
- Authorized service refuses repair
Cost-Benefit Analysis: Repair vs Replace
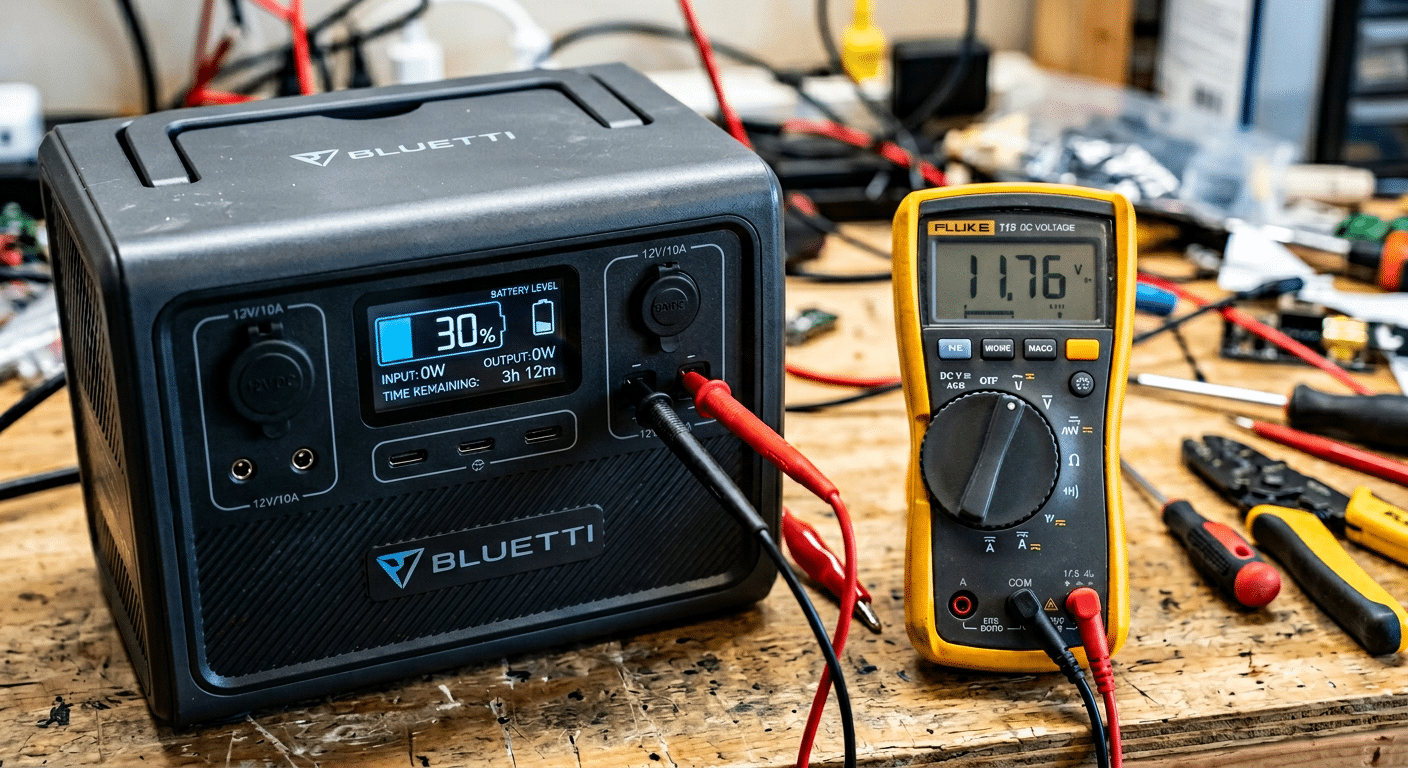
Critical decision: invest in repair or buy new unit?
| Scenario | Repair Cost | Replacement Cost | Recommendation |
|---|---|---|---|
| $500 unit, port replacement | $80-150 | $500 | Repair (17-30% of replacement) |
| $500 unit, BMS failure | $250-400 | $500 | Replace (50-80% of replacement) |
| $1000 unit, battery replacement | $400-600 | $1000 | Borderline (40-60%) |
| $1000 unit, port replacement | $80-150 | $1000 | Definitely repair (8-15%) |
| $300 unit, any major repair | $200+ | $300 | Replace (repairs exceed value) |
General Rule: If professional repair exceeds 50% of replacement cost, buy new. For DIY repairs, threshold can be 60-70% since your labor is “free.”
Age Considerations:
- Units under 2 years: Usually worth repairing (early failure)
- Units 2-4 years: Evaluate case-by-case
- Units 4+ years: Consider replacement (other components aging)
Preventing Future Power Station Not Charging Issues
Post-repair or for new units, preventive measures extend lifespan:
Charging Port Protection:
- Support cable strain relief (don’t let cable hang from port)
- Use right-angle adapters to reduce lever stress
- Apply dielectric grease to connections (prevents corrosion)
- Avoid forceful insertions—align carefully
Battery Health Maintenance:
- Keep charge between 20-80% for storage
- Complete full charge cycles monthly
- Avoid extreme temperatures during charging
- Don’t leave at 100% charge for extended periods
Environmental Protection:
- Use protective case for transport
- Keep vents clear for cooling
- Store in dry location
- Clean connections quarterly
- Power Station Not Charging: 12-Step Complete Fix Guide – Basic troubleshooting before repair decision
- Portable Power Station Not Charging: Mobile-Specific Fixes – Field repair options
- Power Station Warranty: What’s Actually Covered – Understanding your rights
Official Manufacturer Repair Services
- Jackery Repair Service – Authorized warranty and out-of-warranty repairs
- EcoFlow Service Center – BMS programming and battery replacement
- Bluetti Repair Network – Board-level repair and component replacement
Frequently Asked Repair Questions
Q: Can I repair my power station if it’s under warranty?
A: DIY repairs void warranty immediately. Always use authorized service for warranty units.
Q: What’s the most common DIY repair?
A: Charging port replacement, accounting for 35% of power station failures. Success rate: 70% for skilled DIYers.
Q: How long do professional repairs take?
A: Authorized service: 2-4 weeks (shipping + repair queue). Independent local service: 3-7 days.
Q: Is battery replacement worth it?
A: For units under 3 years old with no other issues: yes. For older units: consider replacement as other components near end of life.
Q: What’s the fire risk of DIY repair?
A: Significant if you short lithium cells. Always work with partial charge (30-50%), remove jewelry, and have Class C fire extinguisher nearby.
Final Thoughts on Power Station Not Charging Repair
The repair vs replace decision depends on failure type, your technical skills, and unit value. Simple hardware repairs (ports, fuses, cooling) offer good DIY success rates. Complex failures (BMS, battery cells) demand professional service.
Remember: lithium batteries demand respect. If you’re uncomfortable with electronics or safety protocols, professional service is the right choice. Saving $200 isn’t worth injury or fire risk.
Document your troubleshooting steps before contacting service—this speeds diagnosis and prevents unnecessary charges. Good records also help if disputes arise.
Whether DIY or professional, successful repair extends your power station’s life by years. Choose the path that matches your skills, budget, and risk tolerance.